
Passbolt - Self hosted, open-source password manager built for teams!
A full Passbolt Community Edition deployment: Docker Compose, Traefik with Let's Encrypt, SMTP, MFA, and the update step most guides forget.
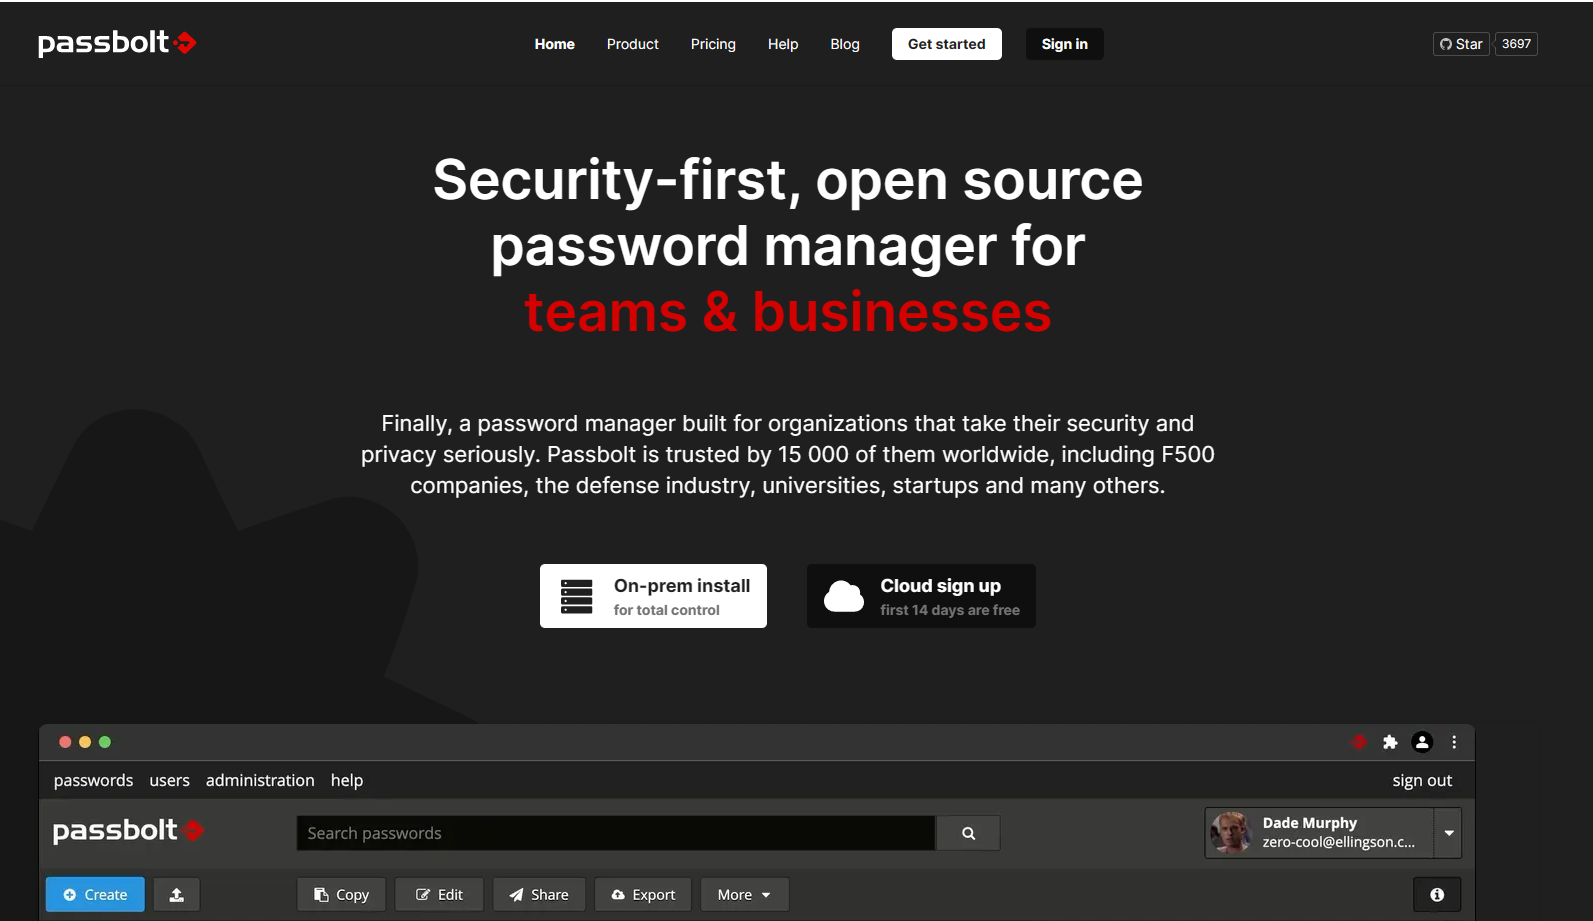
Passbolt is an open-source password manager built for teams. It keeps credentials centralised without vendor lock-in, handles sharing between team members properly, and (the part that matters for self-hosting) runs on your own server, so the vault is yours.
It's a different product from Bitwarden, and worth considering on its own terms rather than as a Bitwarden substitute. Passbolt's model is GPG-based: your private key never leaves your browser, the server stores only what it cannot read, and the whole thing is designed around sharing credentials inside a team rather than around personal vault sync. If you want the personal-vault comparison, that's the password manager comparison; if you want the Bitwarden route, that's how to set up Bitwarden.
This guide covers both common deployment paths: Docker Compose with Traefik, and the DigitalOcean marketplace image.
Prerequisites
- A Linux server with Docker installed, and a user who can run
dockerwithoutsudo. A VPS is the usual answer, the first 24 hours on a new VPS covers getting one hardened before you put anything on it. - A working SMTP server. Passbolt leans on email for account creation, account recovery and notifications. Without working SMTP you cannot complete setup.
- A working NTP service. This one catches people out. Clock drift causes GPG authentication failures that look like something else entirely. Make sure
ntpd,chronyorsystemd-timesyncdis running. - A hostname with DNS pointing at the server, because you'll be requesting a Let's Encrypt certificate for it.
Deploying Passbolt with Docker Compose
1. Download the Compose file and verify it
Never skip the checksum. This file defines the containers that will hold your passwords.
mkdir passbolt && cd passbolt
curl -LO https://download.passbolt.com/ce/docker/docker-compose-ce.yaml
curl -LO https://github.com/passbolt/passbolt_docker/releases/latest/download/docker-compose-ce-SHA512SUM.txt
sha512sum -c docker-compose-ce-SHA512SUM.txt
You want docker-compose-ce.yaml: OK. If it isn't, delete the file and start again, a corrupted Compose file is not something to debug later.
2. Configure the environment
Open docker-compose-ce.yaml. Two things to change before you go further.
Set the base URL. APP_FULL_BASE_URL defaults to https://passbolt.local with a self-signed certificate. Change it to the hostname you're actually going to use.
Pin the image tag. The file defaults to latest, and you should change that to a specific version. This is the single most useful habit with Passbolt in Docker: latest does not keep your container up to date on its own, so you get none of the convenience and all of the unpredictability. Pin it, and update deliberately.
Check the Passbolt Docker releases page for the current tag before you pin, as of this update the latest release is 4.2.0 (19 November 2025), but this moves.
Set your SMTP details. The relevant environment variables:
| Variable | Purpose | Default |
|---|---|---|
EMAIL_DEFAULT_FROM_NAME |
Sender display name | Passbolt |
EMAIL_DEFAULT_FROM |
Sender address | [email protected] |
EMAIL_TRANSPORT_DEFAULT_HOST |
SMTP hostname | localhost |
EMAIL_TRANSPORT_DEFAULT_PORT |
SMTP port | 25 |
EMAIL_TRANSPORT_DEFAULT_USERNAME |
SMTP username | null |
EMAIL_TRANSPORT_DEFAULT_PASSWORD |
SMTP password | null |
EMAIL_TRANSPORT_DEFAULT_TLS |
Enable TLS | null |
Set the sender address to something your mail provider will accept. Using an address the provider doesn't recognise as yours is a fast route to the spam folder or a banned account.
3. Start the containers
docker compose -f docker-compose-ce.yaml up -d
This brings up two containers: db (MariaDB) and passbolt.
4. Create the first admin user
docker compose -f docker-compose-ce.yaml \
  exec passbolt su -m -c "/usr/share/php/passbolt/bin/cake \
  passbolt register_user \
  -u YOUR_EMAIL \
  -f YOUR_NAME \
  -l YOUR_LASTNAME \
  -r admin" -s /bin/sh www-data
That prints a one-time setup URL. Open it in your browser.
5. Complete the browser setup
- Install the Passbolt browser extension when prompted. There is no way around this, the extension holds your private key.
- Set your passphrase. This is the one thing you must not lose.
- Download the recovery kit. You will need it on every new device you connect to this account.
- Set up the security token. This is the colour-and-text pattern Passbolt shows you at login so you can tell you're on the real server rather than a phishing clone. It's a genuine anti-phishing control, not decoration.
Putting HTTPS in front with Traefik
Running a password manager on a self-signed certificate is not a temporary state you should tolerate. Traefik handles Let's Encrypt issuance and renewal for you.
Add the Traefik service
Add this alongside your existing services in docker-compose-ce.yaml:
traefik:
  image: traefik:2.6
  restart: always
  ports:
    - 80:80
    - 443:443
  volumes:
    - /var/run/docker.sock:/var/run/docker.sock:ro
    - ./traefik.yaml:/traefik.yaml:ro
    - ./conf/:/etc/traefik/conf
    - ./shared/:/shared
Traefik sits in front of Passbolt and owns ports 80 and 443, which is why it needs them rather than the Passbolt service.
Point Passbolt at Traefik
Two changes to the passbolt service. First, remove its ports: definition. Traefik is handling the connection now, and leaving both in place causes a port conflict. Second, add labels so Traefik knows the service exists:
labels:
  traefik.enable: "true"
  traefik.http.routers.passbolt-http.entrypoints: "web"
  traefik.http.routers.passbolt-http.rule: "Host(`passbolt.domain.tld`)"
  traefik.http.routers.passbolt-http.middlewares: "SslHeader@file"
  traefik.http.routers.passbolt-https.middlewares: "SslHeader@file"
  traefik.http.routers.passbolt-https.entrypoints: "websecure"
  traefik.http.routers.passbolt-https.rule: "Host(`passbolt.domain.tld`)"
  traefik.http.routers.passbolt-https.tls: "true"
Replace passbolt.domain.tld with your hostname in both rules. If you're running a non-root image, also tell Traefik which port to use:
traefik.http.services.passbolt-https.loadbalancer.server.port: 8080
Add the Traefik configuration files
Create traefik.yaml in the same directory as the Compose file, and a conf/ folder beside it:
mkdir -p conf
Inside conf/, create headers.yaml and tls.yaml. The SslHeader@file middleware referenced in the labels above is defined in headers.yaml, that's the link between the two, and it's why Traefik fails to route if the file is missing.
Take the current contents of these files from Passbolt's own documentation rather than from a tutorial, including this one: Docker automatic HTTPS configuration. They change as Traefik and Passbolt evolve, and the old help.passbolt.com/configure/https/... URLs no longer resolve.
In traefik.yaml, set a real email address for the ACME registration, and disable exposedByDefault so Traefik doesn't try to route every container on the host:
exposedByDefault: false
Then bring everything up:
docker compose -f docker-compose-ce.yaml up -d
You should reach Passbolt over HTTPS with a valid Let's Encrypt certificate.
Email settings in the admin UI
Since Passbolt 3.8, SMTP settings moved out of config/passbolt.php and into the database, configurable from the UI. Credentials are encrypted with the server's GPG public key. If you're on anything older than 3.7.3, you're still editing the PHP file, but you should not be on anything that old.
Go to Administration → Email server. The provider defaults to Other with everything populated except login details. Passbolt ships pre-filled settings for common providers including Gmail, AWS SES and Mailgun, and you can open the advanced section to set SMTP host, TLS and port manually.
If you're using Gmail, you need an app password rather than your account password. Google stopped accepting plain account passwords for SMTP. If a mandatory field is empty or malformed you'll get an error and the save will be refused, which is the behaviour you want.
Notification preferences are configured in two places, and it's worth knowing which is which:
- Administration → Email notification settings sets the organisation-wide default and the sender identity for everyone.
- Your profile → Email notifications sets your own preferences, and adds the option of a daily digest instead of one email per event. Personal settings inherit from the organisation default until you change them.
Multi-factor authentication
Passbolt's Community Edition includes MFA, it isn't a paid-tier feature any more, and hasn't been for some years.
As an administrator, go to the administration section and enable the method you want (TOTP, YubiKey or Duo). Once enabled, MFA becomes available to every user, not just the admin account. Users then set up their own factor from their profile.
For TOTP, any standard authenticator app works. For hardware keys, how to set up a YubiKey covers registration and why a FIDO2 key holds up against phishing relays where TOTP codes don't.
The DigitalOcean marketplace route
If you'd rather not manage the stack yourself, Passbolt publishes a DigitalOcean marketplace image that does the work for you. You can get credit toward a new account through this link ($200 over 60 days) or use Linode, Azure, AWS or GCP if you prefer.
- On the Passbolt site, choose On Premise Installation → Free Download → Deploy to DigitalOcean.
- On the marketplace page, click Create Droplet and pick the region closest to you. Passbolt recommends at least two vCPUs; for a small team the entry-level droplet is usually fine.
- Enable SSH keys rather than password authentication when you launch.
- Once the droplet is up, note its IP and create a DNS A record pointing your hostname at it.
- SSH in and edit
/etc/nginx/sites-enabled/nginx-passbolt.conf, replacingserver_name _;with your hostname. - Run
sudo dpkg-reconfigure passbolt-ce-serverand answer the prompts: no to configuring your own MySQL database, yes to configuring the web server, auto to use Let's Encrypt, then your hostname and a valid email for the certificate. - Open your hostname, click Get Started → Start Configuration, keep the default database settings, generate a server OpenPGP key, set Force SSL to yes, configure SMTP and send a test email, then create the admin account.
From there the configuration is the same as the Docker path.
Keeping it updated
This is the step that gets skipped, and it's the one that leaves you running a password manager with known vulnerabilities.
Because you pinned the image tag, updating is deliberate. Change the tag in docker-compose-ce.yaml, then:
docker compose pull
docker compose up -d
That pulls the new image, recreates the container, and runs the database schema migrations.
Two things to know: if you're also bumping the MariaDB version, run mariadb-upgrade -u root -p inside the database container to complete the upgrade, or you'll hit errors. And the latest tag never updates anything by itself, if you left it unpinned, docker compose pull is still what fetches a new image.
Where this fits
Passbolt is the team-and-sharing answer. If you want a personal vault with the same self-hosted property, Vaultwarden is the lighter option and Bitwarden's own setup covers the managed path. If you're exposing this to the internet, setting up Cloudflare Tunnel with Docker lets you do it without opening ports, and hardening NGINX covers the web server side.