How to Set Up Pi-hole: Network-Wide Ad and Tracker Blocking
Pi-hole blocks ads and trackers for every device on your network at the DNS level. Here's how to set it up on a Raspberry Pi or in Docker.
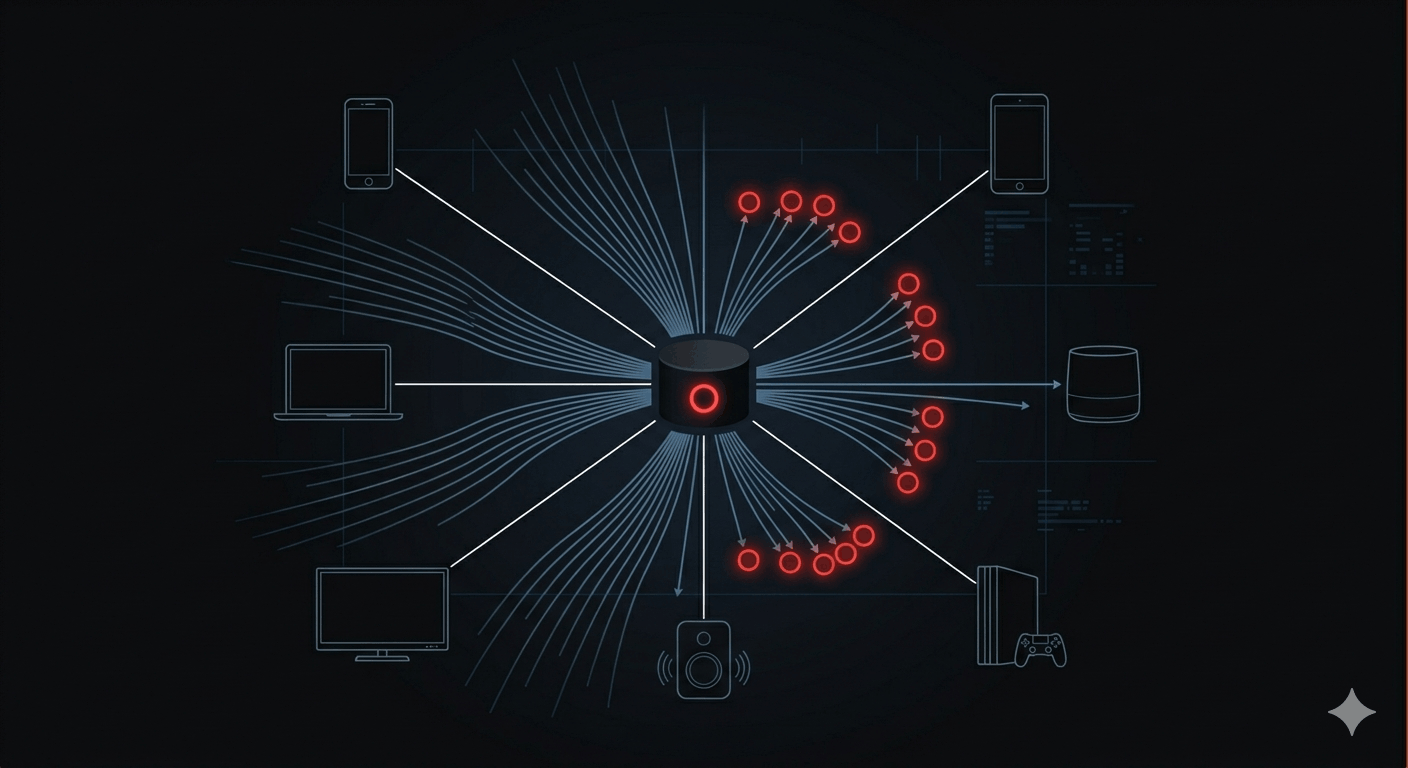
Pi-hole sits on your local network and intercepts every DNS query before it leaves your house. When a device asks "what's the IP for tracker.doubleclick.net?" — Pi-hole checks its blocklist, finds a match, and returns nothing. The request dies before it's ever sent. No browser extension needed. Works on every device that uses your network, including smart TVs, phones, and anything that doesn't support extensions at all.
That's the core idea. It's not new — Pi-hole has been around since 2014 — but it still works, and the setup is straightforward.
Pi-hole vs. the Other Options
If you've been following along with my AdGuard Home setup guide or the NextDNS walkthrough, you know there are a few ways to handle this. Quick comparison of where each one fits:
NextDNS is managed cloud DNS. Nothing to install, works anywhere, handles DNS-over-HTTPS automatically. The tradeoff is that your DNS queries go to NextDNS servers — you're trusting their privacy policy. Good for people who want protection without running any infrastructure.
AdGuard Home is the self-hosted option with the most modern feature set. DoH, DoT, and DNS-over-QUIC built in. Cleaner UI. Written in Go. If you're starting from scratch and want encrypted upstream DNS without extra steps, AdGuard Home is arguably the easier choice right now.
Pi-hole is the original. Older architecture (dnsmasq under the hood), but a massive community, more third-party integrations, and extensive documentation going back years. Adding encrypted upstream DNS requires pairing it with Unbound or a separate resolver — more setup, more control. Pi-hole v6 (current as of 2026) brought a refreshed web interface and some internal improvements, but the basic design is the same.
None of these is objectively "best." The right one depends on whether you want managed or self-hosted, and how much you care about having encrypted upstream DNS out of the box. All three are covered on this blog; pick the one that fits. For the rest of this guide, we're doing Pi-hole.
Two Install Paths
Path 1: Raspberry Pi (or any Debian/Ubuntu machine)
The classic install. One command:
curl -sSL https://install.pi-hole.net | bash
The installer walks you through everything interactively: which network interface to listen on, what upstream DNS to use, whether to install the admin dashboard. Takes about five minutes on a Pi 4.
A few things to know before running it:
- Pi-hole will take over port 53 on that machine. If you're running anything else that uses DNS, that's a conflict.
- Port 80 is used for the admin dashboard by default. If you have a web server on the same machine, that needs sorting before you start.
- Use a static IP for the Pi-hole machine. If its IP changes, every device pointing at it for DNS loses connectivity. Set a DHCP reservation in your router or configure a static IP on the Pi itself.
After the installer finishes, the admin dashboard is at http://<your-pihole-ip>/admin.
Path 2: Docker
Better for machines already running Docker, or anywhere you want Pi-hole isolated from the host system.
The official Docker image is pihole/pihole — latest tag is 2026.02.0 as of February 2026.
docker run -d \
  --name pihole \
  -e TZ="America/New_York" \
  -e WEBPASSWORD="yourpassword" \
  -e PIHOLE_DNS_="1.1.1.1;8.8.8.8" \
  -p 53:53/tcp -p 53:53/udp \
  -p 80:80 \
  -v ./etc-pihole:/etc/pihole \
  -v ./etc-dnsmasq.d:/etc/dnsmasq.d \
  --restart unless-stopped \
  pihole/pihole:latest
The two volume mounts persist your configuration and blocklists across container restarts. Without them, everything resets when the container is recreated.
Replace America/New_York with your actual timezone. Set a real password instead of "yourpassword." PIHOLE_DNS_ takes semicolon-separated upstream DNS servers — 1.1.1.1;1.0.0.1 for Cloudflare, 9.9.9.9;149.112.112.112 for Quad9, or your own Unbound resolver if you want to go full local.
One Docker-specific gotcha: if your host is running systemd-resolved (most Ubuntu installs are), port 53 is already bound. Stop it first:
sudo systemctl stop systemd-resolved
sudo systemctl disable systemd-resolved
Then make sure /etc/resolv.conf points somewhere sensible before you bring Pi-hole up. The Docker docs cover this — don't skip it, or you'll lose DNS on the host itself.
Pointing Devices at Pi-hole
Pi-hole only blocks things for devices that actually use it as their DNS server.
Router-level (recommended): Log into your router admin panel, find the DHCP settings, and set the primary DNS server to your Pi-hole's IP. Every device on the network gets Pi-hole automatically — including phones, smart TVs, game consoles, everything. This is the approach that actually covers your whole network.
Per-device: Set DNS manually in each device's network settings. More granular control, but you'll miss anything you forget to configure, and it breaks every time someone connects a new device.
Router-level is what most people want. The downside: if Pi-hole goes down, DNS breaks for everyone until you fix it or point the router back at a public resolver. Running Pi-hole on something reliable (a Pi with a good power supply, or a always-on server) matters.
Blocklists Worth Using
The default Pi-hole install includes a starter blocklist, but the real benefit comes from adding curated lists. Three worth knowing:
Hagezi aggregates dozens of upstream sources — OISD, StevenBlack, EasyPrivacy, URLHaus, PhishTank, and more — into tiered lists. The "Multi Normal" tier blocks around 700,000 domains with a low false positive rate. Start here. If you want more aggressive blocking, step up to Pro++.
OISD focuses on ads, trackers, and phishing domains. The "Big" list covers most common tracking domains; the "Extra" list goes further. Low false positives, actively maintained.
Steven Black Hosts is the classic consolidated hosts file that Pi-hole has supported forever. Good baseline, though Hagezi largely supersedes it for most use cases now.
Add blocklists in the admin dashboard under Group Management → Adlists. Paste the URL, click Add, then run pihole -g to update gravity (the Pi-hole term for downloading and processing all your blocklists).
The Admin Dashboard
The dashboard at http://<your-pihole-ip>/admin shows query volume, block rate, top blocked domains, and top clients. After a day or two of running, the stats get interesting — you'll see how aggressively things like Samsung TVs and smart speakers phone home.
From the dashboard you can also manage your allowlist (sites to never block), your blocklist for individual domains you want to manually block, and query logging settings.
On query logging: Pi-hole logs every DNS query by default. That log is stored locally, and only you can see it — but if you're running Pi-hole partly for privacy reasons, be aware that every device's DNS activity is visible there. You can set the privacy level in Settings → Privacy. Setting it to level 3 ("Anonymous mode") keeps aggregate stats but doesn't log which client queried what. Worth considering if other people use your network.
When Pi-hole Breaks Something
It will. Some site will stop loading, or a feature will stop working, and you'll spend ten minutes figuring out whether Pi-hole is responsible.
The fastest way to check: go to the admin dashboard's Query Log and look for recent blocked queries from that device. If something is getting blocked that shouldn't be, add the domain to your allowlist (either via the dashboard or pihole -w domain.com).
Common culprits: streaming services that use first-party tracker domains, Microsoft telemetry domains that some Microsoft services actually need, and Amazon's device registration endpoints. The Pi-hole community forum has allowlist threads for most popular services.
The alternative when you need quick access: temporarily disable blocking from the dashboard (it has a 5/10/30 minute option). Not elegant, but it works for one-off situations.
DNS-level blocking is one of those things that's quietly effective in the background. Understanding what DNS actually exposes is useful context for why blocking at this layer matters — and why encrypting your upstream DNS queries is the logical next step once Pi-hole is running.