How to Set Up Fail2ban on Ubuntu and Debian
Fail2ban watches your logs and bans IPs that hammer your server. Here's how to set it up properly — and when to pick it over CrowdSec.

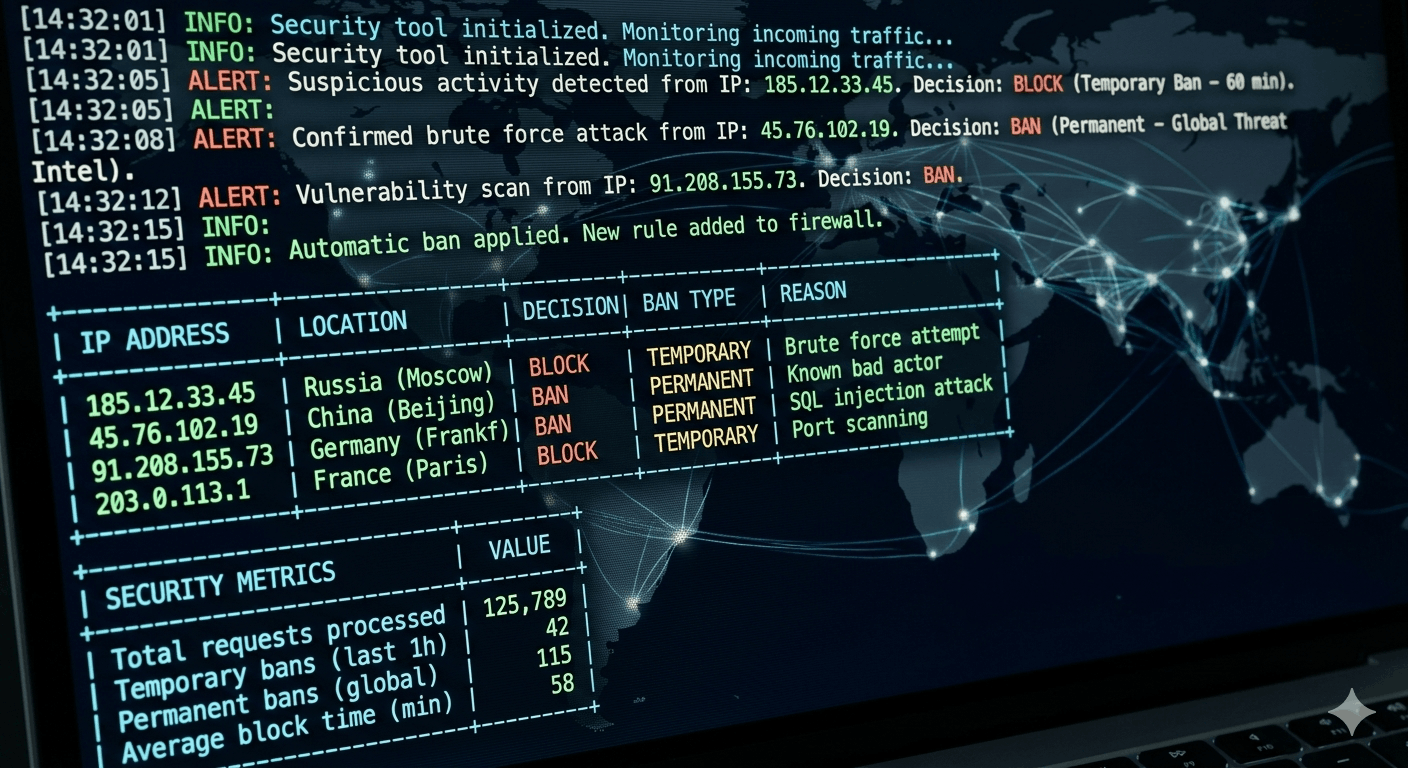
Your server's auth log is a horror show. Every public IP gets hammered by automated scanners within minutes of coming online — GreyNoise tracks this in real time, and the numbers don't lie. Within five minutes of provisioning a new VPS, bots are already trying passwords against SSH.
That's what Fail2ban is for. It watches your logs, counts failures, and bans offending IPs at the firewall level. No machine learning, no cloud console, no phone-home behavior. Just: three failures in ten minutes, gone.
Fail2ban or CrowdSec?
Before running apt install, it's worth spending thirty seconds on this. I covered CrowdSec in detail here, but the short version:
Pick CrowdSec if you're running multiple servers and want them sharing a blocklist, or you want crowd-sourced threat feeds that block known-bad IPs before they ever knock on your door. CrowdSec's community intelligence is genuinely useful — it's proactive rather than purely reactive.
Stick with Fail2ban if you want something local and self-contained. No outbound connections to a reporting network, no agent architecture to maintain, no API keys. If your server has restricted egress, or you just don't want your server's threat data feeding a third-party platform, Fail2ban makes the decision easy. It's also simpler to configure for non-SSH services — custom log parsing with regex filters is Fail2ban's whole thing.
There's no wrong answer. I run Fail2ban on smaller single-purpose machines and CrowdSec on production stacks. They can even coexist, though that's overkill for most situations.
Installation
On Ubuntu or Debian:
sudo apt update && sudo apt install fail2ban -y
That's it. The package creates a systemd service and starts it automatically. Verify it's running:
sudo systemctl status fail2ban
The default config protects SSH out of the box, which is good. However, we can make it better.
The One Rule About Config Files
Fail2ban ships with /etc/fail2ban/jail.conf. Do not edit it. Ever.
When Fail2ban gets an update, jail.conf gets overwritten. Your changes disappear. The correct approach is creating /etc/fail2ban/jail.local, which takes precedence over jail.conf for any setting you define there. You only need to include the values you're changing — everything else inherits from jail.conf automatically.
Also Read:

Setting Up jail.local
Create the file:
sudo nano /etc/fail2ban/jail.local
Start with global defaults that apply to all jails:
[DEFAULT]
bantime  = 1d
findtime = 10m
maxretry = 3
bantime is how long a banned IP stays banned. The default is 600 seconds — ten minutes. That's meaningless for persistent bots; they'll just wait. One day is a reasonable starting point. For high-traffic servers with constant brute force, some admins use bantime = -1 (permanent ban) combined with manual review.
findtime is the window during which failures are counted. Ten minutes works well for SSH.
maxretry is the failure count that triggers a ban. Three is reasonable for SSH — you shouldn't be typing your password wrong three times anyway (and if you're using key-based auth, this should never trigger).
Now activate the SSH jail:
[sshd]
enabled = true
That's the minimum. The [sshd] section activates Fail2ban's built-in SSH filter, which parses /var/log/auth.log for failed authentication attempts. No custom regex needed.
One important note: if your system uses systemd-journald without writing to /var/log/auth.log (some minimal or containerized installs), add this:
[sshd]
enabled  = true
backend  = systemd
This tells Fail2ban to read from journald instead of a flat log file.
Adding Nginx Protection
If you're running Nginx, add this to jail.local:
[nginx-http-auth]
enabled = true
This activates the built-in Nginx auth filter, which bans IPs that repeatedly fail HTTP basic authentication. For more granular rate limiting on Nginx (request floods, not just auth), the nginx-limit-req jail is also available — but that requires configuring limit_req_zone in your Nginx config first.
Save the file and reload:
sudo systemctl reload fail2ban
Checking It's Working
sudo fail2ban-client status
This lists active jails. You should see sshd in there (and nginx-http-auth if you enabled it).
sudo fail2ban-client status sshd
This shows the good stuff: how many IPs are currently banned, the failure count, and the list of banned addresses. After a few hours on a public IP, you'll typically see bans accumulating. That's the tool working.
The full ban log is at /var/log/fail2ban.log. Watching it in real time:
sudo tail -f /var/log/fail2ban.log
Unbanning Yourself
At some point you will lock yourself out. Maybe you were testing from a different IP, maybe your SSH key passphrase muscle memory misfired. It happens. The fix:
sudo fail2ban-client set sshd unbanip YOUR.IP.ADDRESS
If you can't SSH in at all to run that command, you'll need your VPS provider's out-of-band console access — every major provider (DigitalOcean, Hetzner, Vultr, Linode) offers this. Log in through the web console and run the unban command from there.
This is also why restricting SSH to a trusted IP before anything else (covered in the Linux system hardening guide) is worth doing on any machine where you control the source IP.
A Note on Logwatch
Logwatch is an optional cron-based tool that sends daily email summaries of log activity, including Fail2ban bans. It's not required — fail2ban-client status sshd and /var/log/fail2ban.log give you everything you need directly. But if you're running several servers and want daily digests, apt install logwatch and configuring it with your email address is a fifteen-minute addition. Entirely optional.
Final Config Reference
Here's a clean jail.local covering SSH and Nginx:
[DEFAULT]
bantime  = 1d
findtime = 10m
maxretry = 3

[sshd]
enabled = true

[nginx-http-auth]
enabled = true
Reload after any changes:
sudo systemctl reload fail2ban
Fail2ban won't stop a determined attacker with valid credentials. It won't help if your SSH keys get stolen. What it does is eliminate the noise — the automated credential-stuffing bots that run against every public IP all day, every day. That's meaningful signal cleared from your logs, and real load removed from your auth stack.
For anything beyond basic brute-force defense — active threat intelligence, pre-emptive blocking, multi-server coordination — that's where CrowdSec picks up. The CrowdSec setup guide walks through that stack if you want to go further.
Next Read: